Tuesday, December 24, 2013

Here He Is: Mr. Xmas in his Xmas Shirt

Obviously the Roommate's Western Xmas Shirt is finished! Here is the supermodel showing it off. 

Apparently I'm even luckier than I previously thought, because at least 2 friends have told me their significant others would never wear anything like that.  The Roommate is an elementary school teacher and the children love him, partly because he does not mind looking silly...so even if the crazy shirts I make for him are not sophisticated or classy, he wears them anyway, with pleasure.  

You can see that I had fun w/ the contrasting red & green.  The red is under the collar, and inside the neckline & the button placket, so it just shows a bit.

I also included some red inside the pockets & red star buttons--because the Roommate is also a communist! ;-)  For those detail pictures, click here.  

The pattern is Simplicity 6693, from 1974, BTW.

Monday, December 16, 2013

I Just Can't Stop It: Western Xmas Shirt for Roommate

The Roommate is getting yet *another* fun shirt.  He picked out the fabric, and I got it cut out last night.  I'll mark the pattern pieces today & get started sewing.  
It won't have pearlized snaps, like the Western African shirt had.  Instead, I bought red star buttons.  The contrasting fabric for the cuffs & the yokes is great, too.  

I did the pockets first.  On the right you can see the flaps (left is buttoned, right is open with the red contrasting on the underside of the flap).

I can't wait to show it to you! 

Music?  How about Back Door Santa, Clarence Carter!  

Sunday, December 8, 2013

Another Xmas Gift Finished!

We got a lovely blast of snow and ice today, so it feels a lot more like xmas & makes sitting in front of the fireplace, reading with Bella (who has kept me focused on sewing all day, in managerial fashion), a lovely proposition.

Of course, it's Sunday and not having to go out in it helps...it feels romantic & cozy & fun.  I don't work tomorrow, but the Roommate does, so this won't be so fun tomorrow for him, driving to work, especially if we have a true ice storm as they're predicting tonite.
Lining on left.

So after we ran out to the gym & to get some supplies (milk, limes!),  I got one of my projects done, a quilted iPad holder for my sister (who doesn't read this blog, so my secret should be safe).  I did a bit of piecing, and decided to curve the edges of the front flap because I couldn't find my instructions for making a mitered corner for the binding.  I could have looked it up on the innerwebs, I know, but decided this made it a bit softer & worked better with the pretty fabric.  

I think most of this fabric was a gift from a quilting friend, but there were so many different colors that matched & mixed, so I think parts of it were serendipitous, too.  No complaints; it was nice to work with such pretty fabric, and to have lots to play with.  

I also managed to get caught up on my Project Runway Allstars episodes.  Sometimes I feel like I spend more time trying to find something to watch while sewing than I spend actually sewing!  
This is the outside back of the tablet cover.  
What are you making for xmas gifts?  

Sunday, December 1, 2013

Xmas Presents - Not Quite Ready for Prime Time

The main fabric in this photo is a panel from a girl's kimono...it's silk and I bought it in Japan years ago.  I've been waiting to use it, and the time has come.  

I'm also using up some scraps (given by a generous freecycle member) & a bit of other cotton stash items for this gift.  I won't say too much more about it because one of the giftees reads this blog.  

I have also been doing a bit of knitting (also for xmas), and am still trying to finish the cotton test run for the wool jacket, the half of See & Sew B5699 that I haven't even started on!  

Realistically, I probably won't get all this done.  For one thing, we'll be away for xmas & we both work full-time until then.  Meaning, between packing, cleaning, doing laundry, wrapping presents & working on xmas cards, we'll be pretty darn busy.  Not to mention the gym!  But I'm doing my best, & if some doesn't get done, oh well.  

What are you doing to prepare for the holiday season?  Gift-making, gift-baking? Will you get it all completed in time?!  

Tuesday, November 19, 2013

See & Struggle B5699, continued

Remember these photos from a few weeks back?

A week or so ago, I had high hopes that this See & Sew B5699 jacket was going to be fairly easy.  I had made a toile, was headed off to see Allison at Bits of Thread, and thought I'd have a nice  pattern all ready to cut out by the time I got home that night.  I was so wrong.  

A bunch of problems presented themselves.  Allison did not agree with me that the fit was almost there.  I ended up cutting & re-cutting 2 more toile versions, trying to a) get the fullness out of the waist, and b) trying to get rid of the floppy collar. 

I again (foolishly) thought I was close when I left class that night...

No, that's not blood, but it sometimes felt like it!

But a full week of modifying, darting, & re-darting every night hasn't got me any closer (as these photos illustrate).  I moved darts, added darts, re-sized darts, and did everything I could think of and still...I don't think it looks correct.  
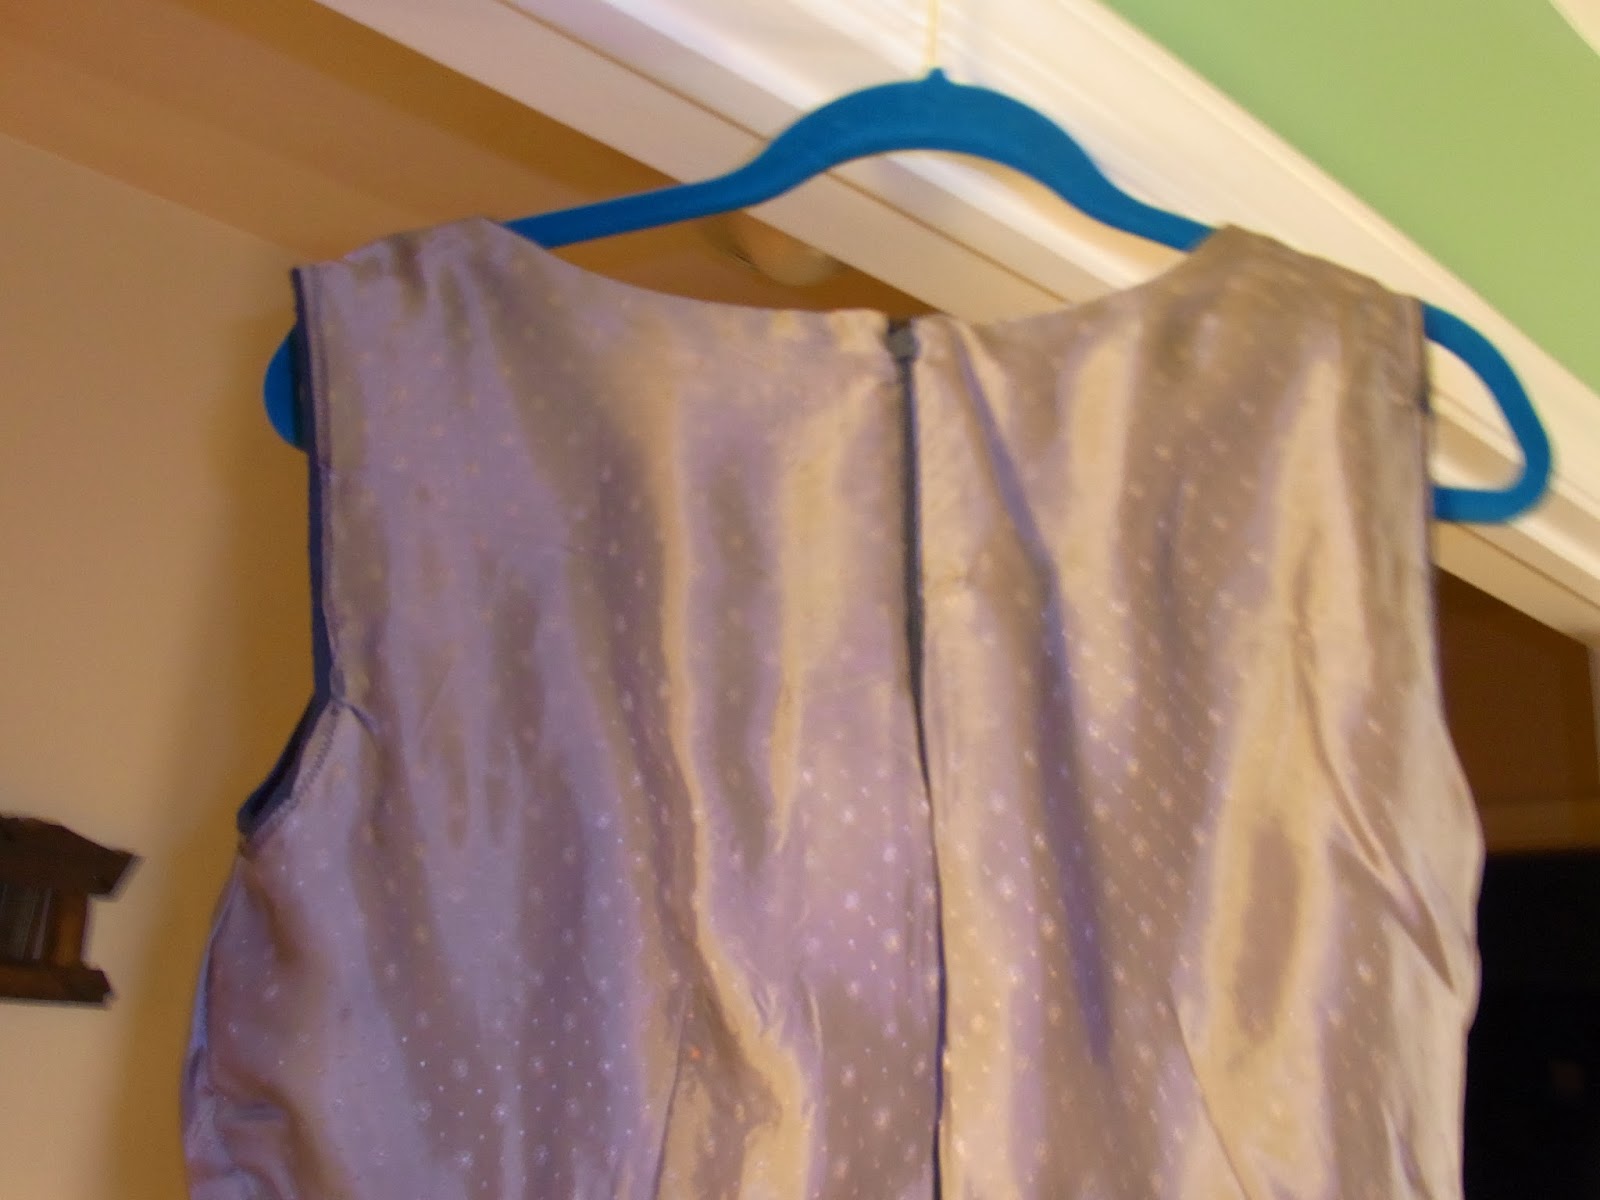
Starlet Suit jacket
In fact, the latest version of the toile looks too small. But I don't really know because I lost the back pieces (which did fit perfectly), so don't have anything to sew the front pieces to! However, just pinning it to Helen it sure looks too small.  So how did that happen?  

I had to put it all away for a while & start a quick knitting project! But what I've done is dig out the pattern pieces for the Starlet Suit (from Gertie).  That finally fit me, as you can see here.  However, those are princess seams, and I was hoping to get a jacket with a different pattern (why I bought See & Sew B5699 to begin with).  

I find these extreme fitting challenges to be extremely upsetting.  First, I wonder if my body is totally weird; why does one part of a pattern go easily and the other is so painful? And sewing does make you look at yourself pretty closely (and measure yourself), and I don't like doing that at all.  

There does seem to be a bit of hope:  Gertie recommended this FBA tutorial page, from Sew L.A., and I've followed the instructions to the letter.  More on the test version of that jacket (in cotton) next time!
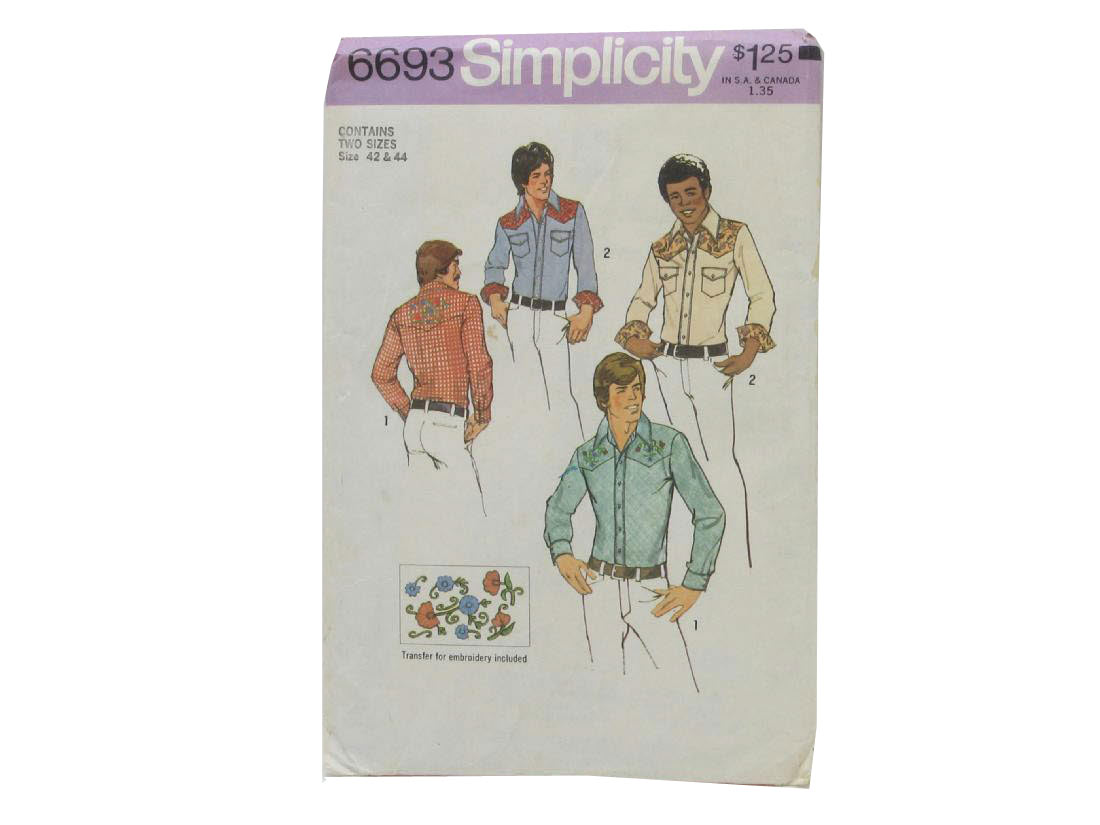
Tuesday, November 12, 2013

See & Struggle B5699 +

Leaves, Blue Sky at Silver Lake
Hello; gorgeous fall weather here; wanted to get this posted before we take a long bike ride. 

I wanted to mention the Fashion & Textile Museum in London has an amazing exhibition coming up: Artist Textiles from Picasso - Warhol, running 1/31/2014 - 5/17/2014. The exhibit is going to tour--hopefully it will get to the US. If you see it, do let me know.

We saw a Matisse textiles exhibition at the Metropolitan back in 2005.  It was mostly his paintings with different textiles in them, however there were a few samples of real textiles that had belonged to Matisse.  Here's the book from the exhibition, The Fabric of His Dreams.

Back to the reality of fitting now...

Surprisingly, it's an epic battle to fit the jacket from See & Sew B5699.  I say surprisingly because the dress (from the same pattern), in size 12 fit perfectly, is flattering (I think) & really didn't involve many modifications.  

This was my great deal of the day from Mood, the lovely woven navy wool was $10/yard and the silk/rayon lining was $5/yard.  It is fully lined & really comfortable.  I've been wearing it with an Anne Klein jacket I found on sale at Macy's, but really want to finish a matching jacket from the pattern, as pictured above...but without that floppy collar!   

I had a little trouble lining it (the zipper), but after I figured that out it looks & feels great.
Okay, that was all very successful; I've worn it to work twice & have received a lot of compliments.  So what happened with the jacket?!  Stay tuned for more.


Monday, November 4, 2013

What's Going On?

I am still smocking away, but also still working on See & Sew B 5699.  The dress came out really nice & I need to get a photo up.  The dress has a built-in wide waistband that is really flattering.  I wore it to work w/ a different (ready-made) jacket & got lots of compliments on it.

I like the jacket, too, it has a really neat long slash dart up through the pocket, which makes it fit me SOOO well.  But I don't like the wide collar, and want it to be a little less big. I have tried twice to change it (even using a finished jacket Mohammed made for me as the template), but I did not get it right.  
You can see the toile here; the fit is just right (mostly), but the collar? Bleccch! So I'm headed over to Bits of Thread this afternoon to get Allison's help.  (BTW, I buy old sheets at the thrift store, wash them & use them as toile fabric; I think it works pretty well.)  **Of course the fitting was NOT easy...2 hours with Allison + a week later = almost done!  (More in the next post.)**

What else is happening?  Well, sewing-wise, I'm still smocking away.  

Below you can see 3 actual cushions I've made up with smocked covers.  (I also learned how to make a lapped-zipper.  Not that hard, but now I'm getting good at it...thanks, Allison!)  
This was made with some upholstery fabric I found in the Bits of Thread recycled fabric shop.  I think the "cobblestones" smocking pattern is pretty effective here.  If nothing else, the Roommate really liked it!  

There were 6 pieces of 36" square upholstery fabric, so I'll definitely be making more cushions covers from those. Now we need to get a couch to put them on!

And the other two pillows were also made with scraps from the shop.  The brown is cotton velvet, really nice, and the blue is fake suede.  I think the smocking is quite effective on these, too.  

However, the bows pattern on the brown cushion really distorted the fabric.  So much so that I really had trouble getting a rectangle or square out of it.  I took a close-up of the cushion so you can't see how messy the edges are!  

I really like how the smocking brings texture to the fabric; it makes the cushions look much more luxurious than they are.  Honestly, the covers are cheap (just the price of a long zipper, mostly), it's the cushions that are expensive.  I've been using coupons whenever I can at Joann & Hancock so I can get the nice down-filled type.  

What else is going on?  I'm excited by the Saudi women who are pushing the country's laws about driving.  They've been posting videos of women driving on the web.  They are so brave and I wish them luck.  

Here's Marvin Gaye singing "What's Goin' On?" from 1971.

Tuesday, October 29, 2013

Boo! Lots of Skulls this Hallowe'en

I mentioned recently that Vogue 8800 has been getting a lot of use here lately.  And here's another example, this time with long sleeves.  

He loved this fabric, so I had to make him something to wear for school on Hallowe'en. Here he is posing with some beach-combing treasures (sea turtle & whale skulls), plus take a look at the buttons I found...
Candy corns & skulls!  

Happy Hallowe'en to all!  And the best Hallowe'en tune I know: Howlin' Wolf, I Ain't Superstitious, Baby

Tuesday, October 22, 2013

And even more about Smocking...

I may be teaching a "how to smock" class at Bits of Thread in DC next spring, so I've begun doing all sorts of research on how smocking has been used throughout history (not that easy to find, unless you're talking tradition ("English") smocking.  I am focusing on Canadian or North American smocking.  Here's a fine example of it from one of Judi Dench's costumes from Shakespeare in Love...
Look at those sleeves! 

Here are a few things I've made as samples, just to see what types of fabric work, and what types of patterns work on different materials.  
This first one is on a piece of Thai silk.  After smocking, I tried ironing a bit after smocking...just to see what would happen.  I'm not sure I like it, but if I ever wanted to do something with it, I could rinse it out & fluff it up.  I was going for the Judi Dench sleeves look, but don't have the patience. Notice I didn't add any pearls either! ;-)
The front of a small piece of batik.  I tried this to show that the business of the print sort of takes away from the smocking (though it does look better in reality).  And here is the back, about 1/2-smocked, with the Pellon grid + my marks:  


This is on a piece of cotton velvet.  I think it looks quite nice.  It makes the square into a parallelogram, and it would take a firm cushion & some work to re-square it.  But it looks a lot better pulled out into a square so the design shows.  
Fake suede, very slick & polyester-y.  I think if you were going to do something with the squares you'd have to fill them with batting as you stitched each one.  I've seen this recommendation for other smocking patterns, too. 
Front of doubled 5mm silk
This is the back of the doubled 5mm silk I bought way too much of. You can see all my markings on it; all made with the iron-away Pilot Frixion pens.  Rubbing the lines, or a bit of warmth, removes them completely.  
This very slick polyester hasn't been tamed into smocking yet.  First I tried ironing on the Pellon fusible grid interfacing, but it made this thin silky material way too stiff & weird looking.  Then I tried drawing a grid on the back with the Pilot pens, but really couldn't see what was happening, partly because of the print, but also because the silky material resists the pen.  I could probably use a Sharpie to draw the grid, but that would be pointless because if it shows through, that won't be pretty.  

I may try ironing on the grid again, then washing it before I do the smocking.  Or washing it after I smock.  Either way, I want to find if the grid interfacing will soften up and the fabric will look like silk.  On the other hand, smocking really requires fabric with a bit of stiffness to it, so who knows--it may look awful no matter what!  

I found a few more blogs with posts about Canadian/North American smocking.  First, Vani, who does lovely work, embroidery & yummy cooking, but here's one of her detailed posts about a trellis pattern with flowers that I found really helpful.  She is good about answering questions, too.  

For some more lovely smocking used in haute couture, here's a post about Miu Miu from 2012.  

Passion et Couture has a wonderful trellis pillow she made using printed cotton; it's just the right mix of print & fabric & technique!  

Lovely curtains with smocking at the top from Maison de Pax!  This honeycomb pattern is simple but ever so effective, don't you think?

Finally, after quite a bit of research, I've found 1 book in 2 volumes by Debbie Shore which seem to focus on Canadian smocking, not English smocking (though she is English).  The publisher is Vive Books, and the title is Modern Smocking.  You can get a CD version, or a downloadable e-book, and there's a deal if you buy both volumes together.  

If you look up Debbie Shore on YouTube, you'll find she's done quite a few tutorials, which will give you plenty of ideas for applications & techniques!  

If you give it a try, please let me know...I'd love to see what you come up with.   

Tuesday, October 15, 2013

Peace, Man! Or, Peace Shirt for My Man

I've been getting a lot of use out of the Vogue 8800 pattern for the Roommate.  It doesn't come with a pocket, but I've been adding patch pockets & slash pockets because he needs a place to put his smart phone!  

Here he is showing off his handiwork in our sun room, which is slowly getting turned into a real comfy-cozy room, rather than a conglomeration of intentions.  Anyway, he'd just hung the 2 window frames we got in Bahrain, which I believe look amazing against the stenciled wall behind him.

I think that high-quality work deserves another fun shirt for such a cute boy!

And below you can see the fun buttons I found, too.  They are metal, which seems super-cool to me.

Tuesday, October 8, 2013

From the Collection: Straw Into Gold

Whenever I look at weaving or knitting, or ikat or batik or crochet or quilting, I think "straw into gold." Which is really what any type of textile craft/design/skill/creation is...

Artists take this


or this 


or even this 
then turn it into fiber...then into art!

This is a skirt (falda) from Guatemala.  It's cotton & woven of fibers not much thicker than the thread used for sewing.  And it's incredibly long (33" x 152"), meaning that it must have taken ages to make.  The narrow ends are sewn together to make a loop and the women step into them, then wrap them around and tie them with a belt (cinturon). 

This is a Baluchi woolen rug, from northern Oman.  Though the wool is quite coarse, I love that the design is so intricate, again a lot of work (and paying attention).  The dyes are all traditional, too, which is hard to find. 

Here's another example of amazing work, but with modern dyes, a woolen rug from southern Egypt.  

And one example of Navajo weaving...a saddle blanket. Probably from the 1930s (again, natural dyes give a hint of age, but also that it's worn).  But I'm no expert!

And another Navajo weaving, a chief's blanket, also from the 1930s.  The dyes are in better shape on this one...perhaps because it was used less (it would have been worn around the shoulders, not sat on)?  

Finally, a recent arrival to the collection...a friend just gave me this, she got it in Thailand. It is very finely woven with cotton and silk yarn not much thicker than sewing machine thread!  I cannot begin to imagine how much time this took! 

To give you an idea of the work involved, here's a picture showing the back & front.  Sorry the photos aren't the best; there seemed to be a glare off the fabric, which is one of the reasons I'm pretty sure silk is one of the materials.  

I just realized I have a class tomorrow evening at Bits of Thread, so have to go prep for that!  Thanks for reading!  

Tuesday, October 1, 2013

Smocked Pillow

I bought this remnant of navy fake suede a while back to try with smocking.  I mentioned in my previous post that I want to make a bunch of smocked pillows for our soon-to-be-purchased couch.  

Here's a bit of info about how to smock, and to show you what's been happening with this particular item...


Here is my cheap-o way to get a grid on the back of the navy suede.  I had a bunch of scraps of fusible interfacing.  I then drew a grid onto that interfacing.  You can buy Pellon fusible grid interfacing, but it's rather expensive (I think).  
Depending on the type of design you want on the front, you draw different patterns of lines on the back.  If you look to the right side of the above photo, you'll see I've already done some of the stitching: Tuck & tie the solid lines, while leaving loose the spaces between the solid lines.  You can see my knots & my loose pieces of thread if you look closely.  
I think it is magic.  That simple grid & markings, some easy stitching, and Wow! A lovely basket weave 3D design on the front of my suede pillow!  
Above are some remnants I got from fabric.com.  I wanted to see how these fabrics would look when smocked.  The cheetah is a very shiny polyester, the brown is another fake suede.  The solid cream & eggplant are linen/rayon blends and the 2 flowery prints are from Amy Butler's Gypsy Caravan Stash line.  

However!  There is a problem.  I love the 2 Amy Butler & linen fabrics so much...but only got a yard or 2 of each.  They are all quite wide, though.  So now I'm thinking, "Who needs pillows?!  I need skirts!"  Stay tuned to see what really happens with these!  

A few smocking tutorials from around the web.  And if you're looking for smocking pics, don't be surprised at how many smoking pics you get.  ;-P

Here are honeycomb smocking tutorial & a lattice smocking tutorial from Learning to Fly.  

And a pin tuck smocking tutorial from Sew Mama Sew.

There's also a round pillow project in the first One-Yard Wonders book.  

Update! Found another great smocking pattern on the Threads.com site.  Really cool lozenge looking smocking which would make a great waist decoration (see the photo!).  

And here's the blue suede pillow finished! Well, the smocking is finished (watching a movie is a great way to get handwork done!).  Now I need to make it into a pillow. 

An important consideration is how the smocking changes the shape of your fabric. This was a large square, but now it's a rectangle.  I think some planning & thought would be involved if you had a certain pillow shape in mind when you started.  Me, I'm going to smock smock away, then find pillow forms that fit the completed work!